Google API Integration
Features
- Google Sheets
- Google Drive
- OAuth
OAuth Configuration for Porta and Google Integration
OAuth is an open standard for access delegation, commonly used as a way for internet users to grant websites or applications access to their information on other websites but without giving them the passwords.
Create a new project in Google Cloud and enable Google Sheets and Google Drive APIs
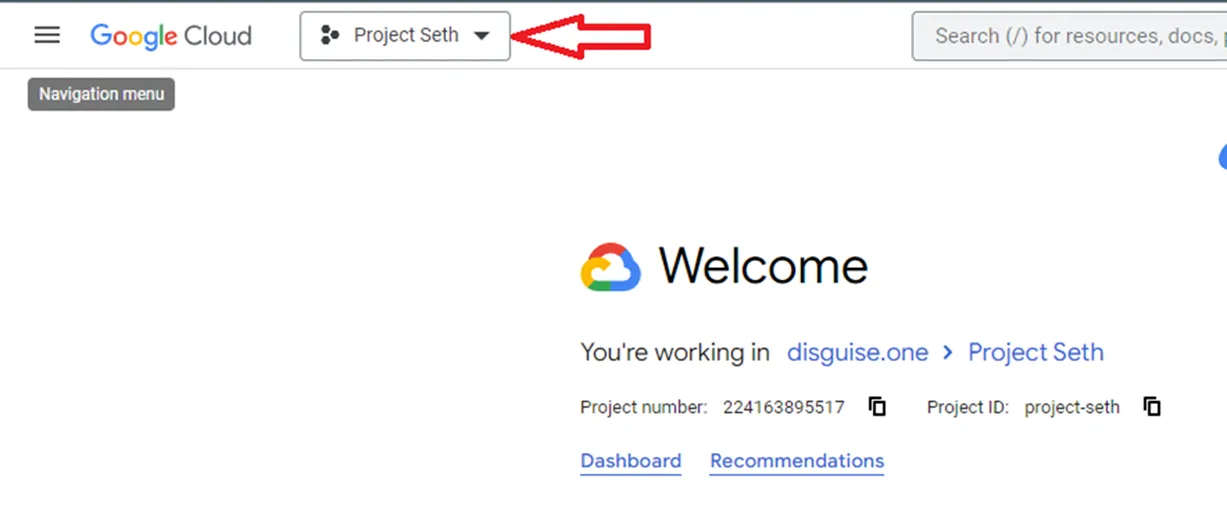
- Navigate to https://console.cloud.google.com/welcome and create a new project in Google Cloud.
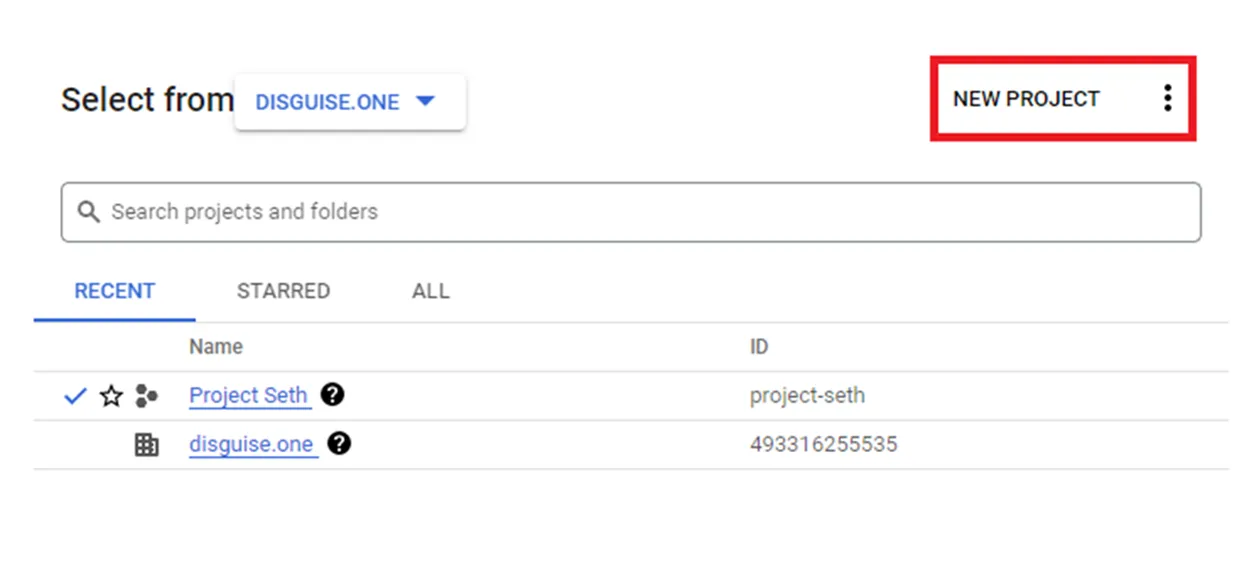
- Click NEW PROJECT.
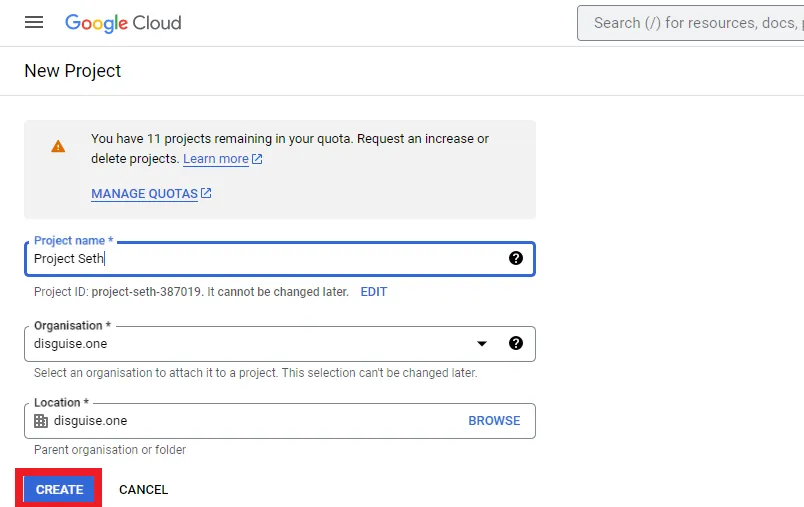
- Enter the project details.
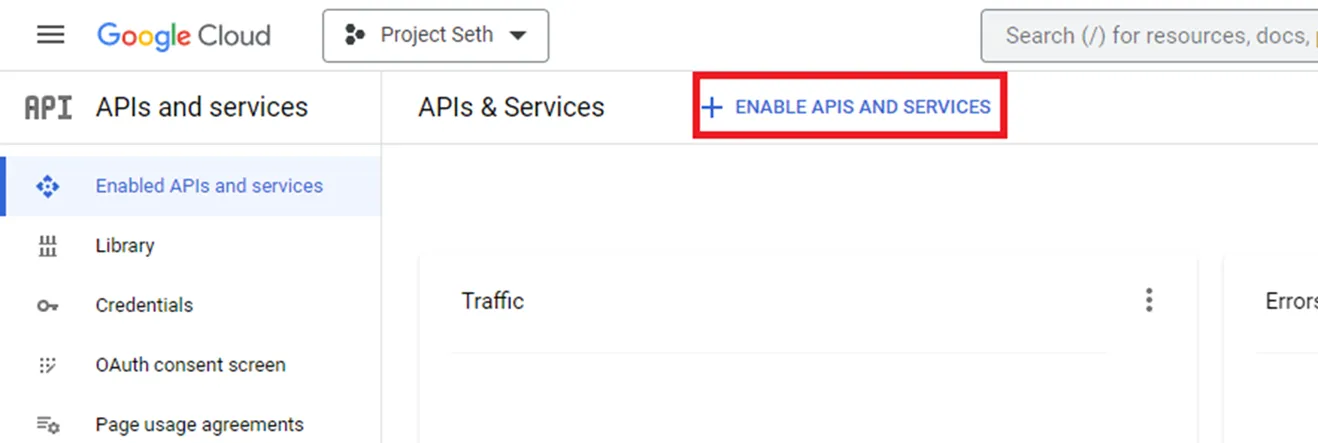
- Navigate to APIs and services and select Enabled APIs and services from the sidebar.
- Select + Enable APIs and services.
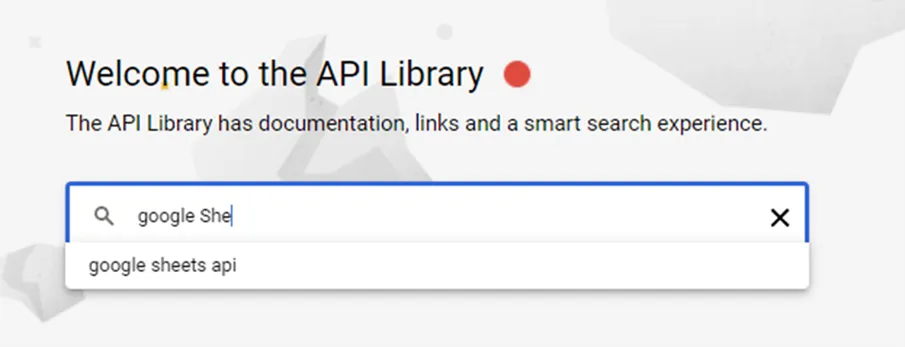
- Search for and enable Google Sheets API. Then repeat the search to enable Google Drive API.
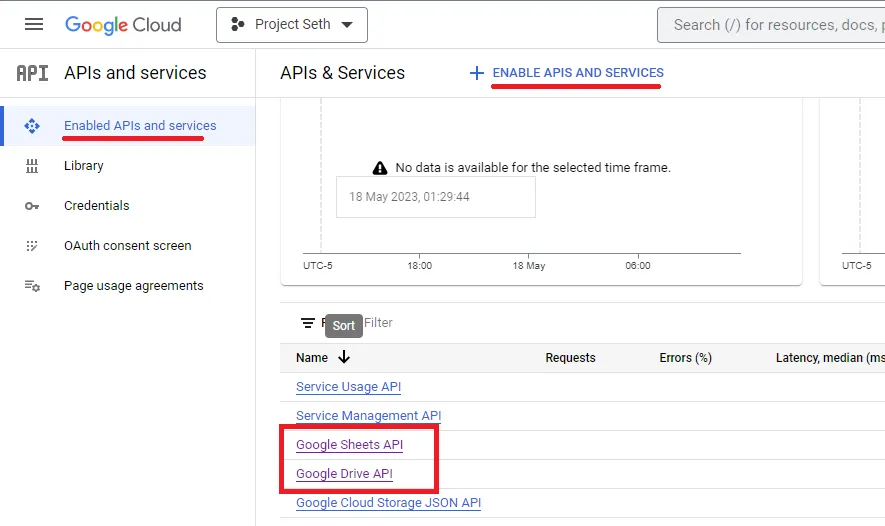
- Click Enable for both Google Sheets API and Google Drive API.
- Check that Google Sheets API and Google Drive API are enabled.
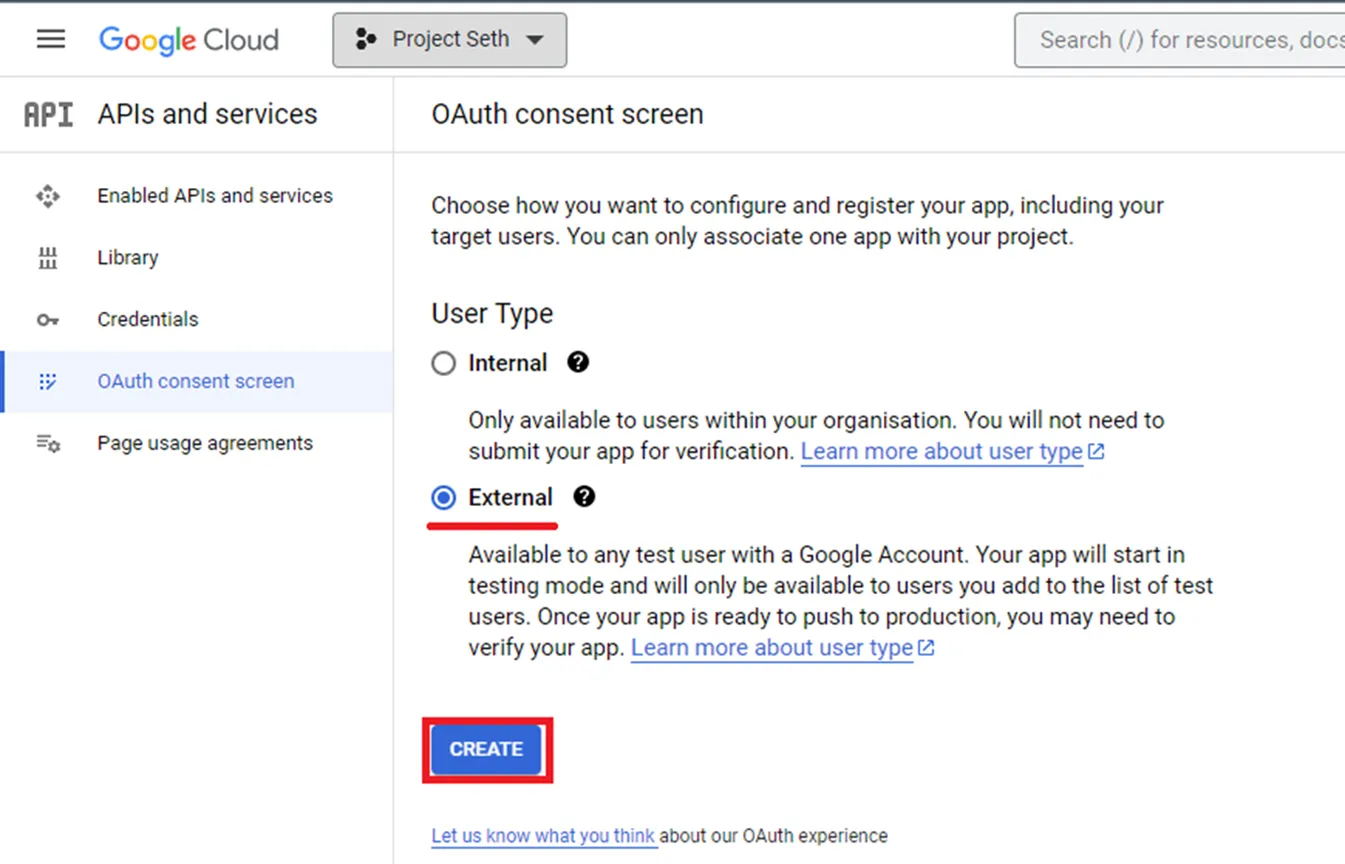
Edit the OAuth Consent Screen
- Select the OAuth consent screen from the side menu.
- Select the User Type, External.
- Click Create.
- Enter the following information:
- App name -
eg., Porta Production or Porta Staging - User support email -
[your email address] - Application home page -
eg., https://staging.porta.solutions - Authorised Domain name -
porta.solutions
- Click SAVE AND CONTINUE.
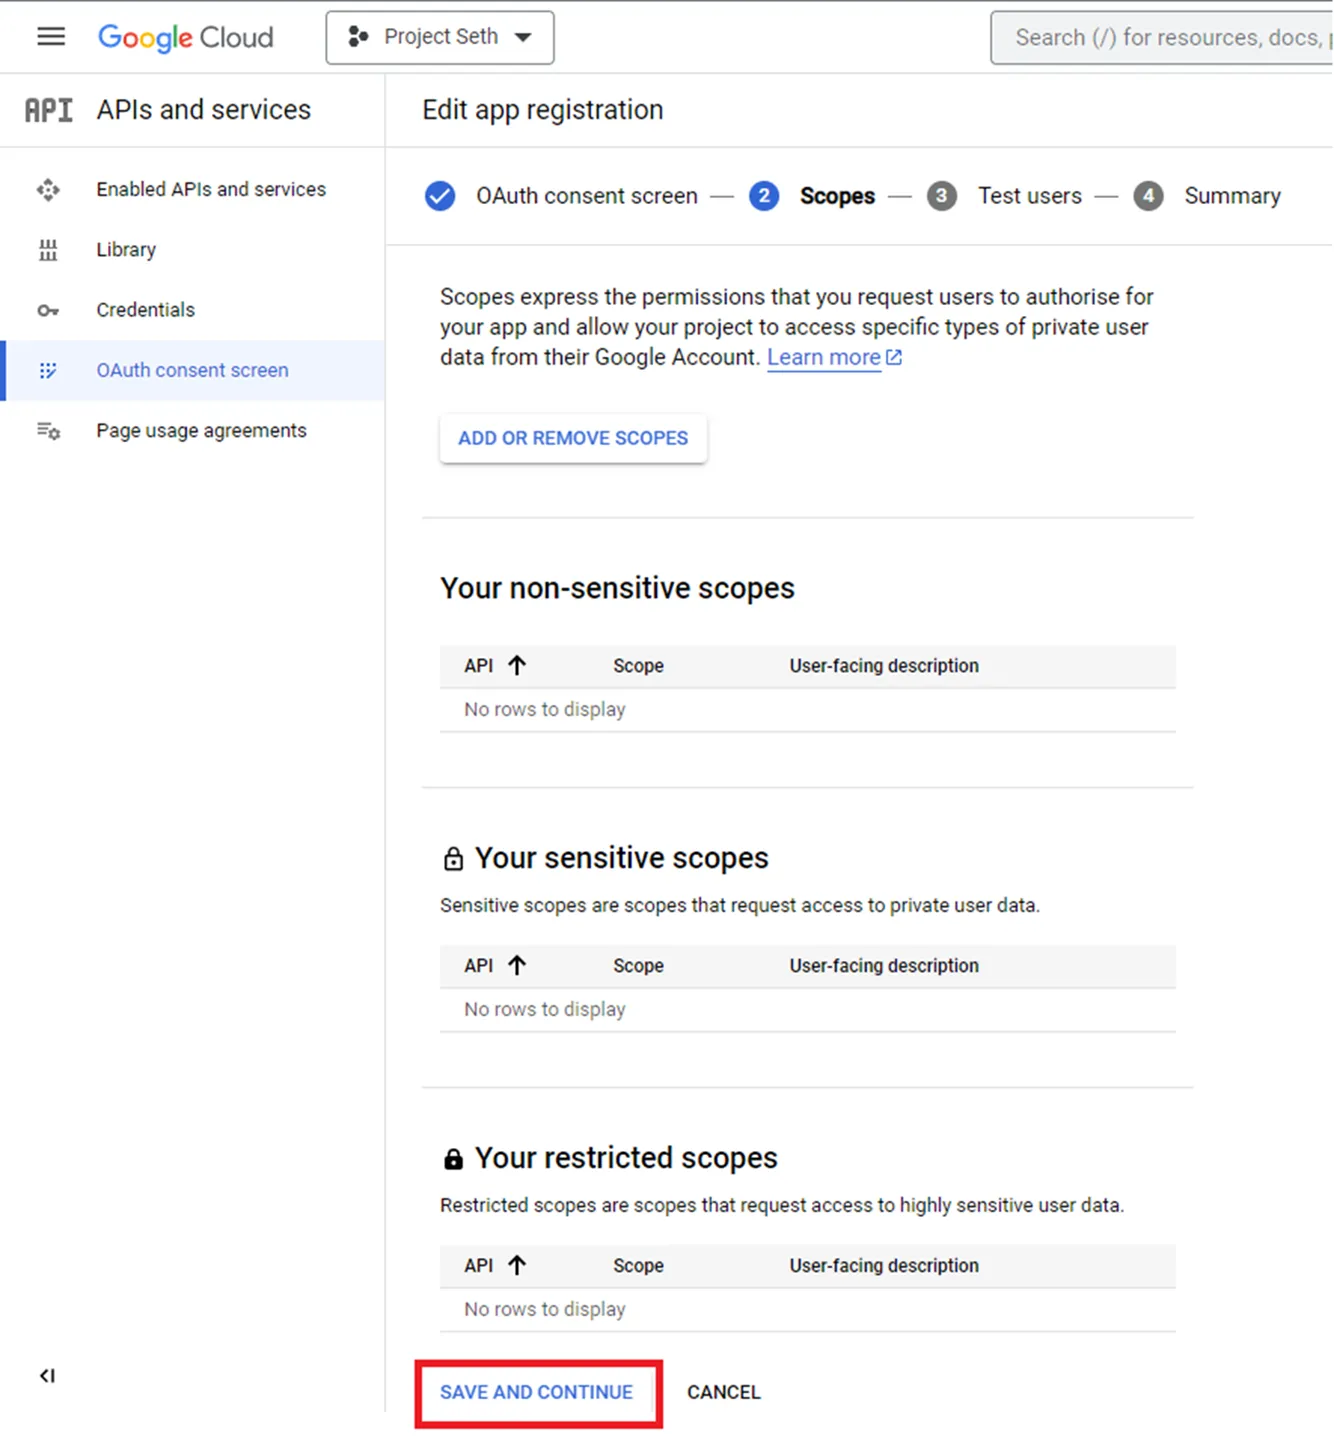
- Confirm the default settings for scopes and click SAVE AND CONTINUE.
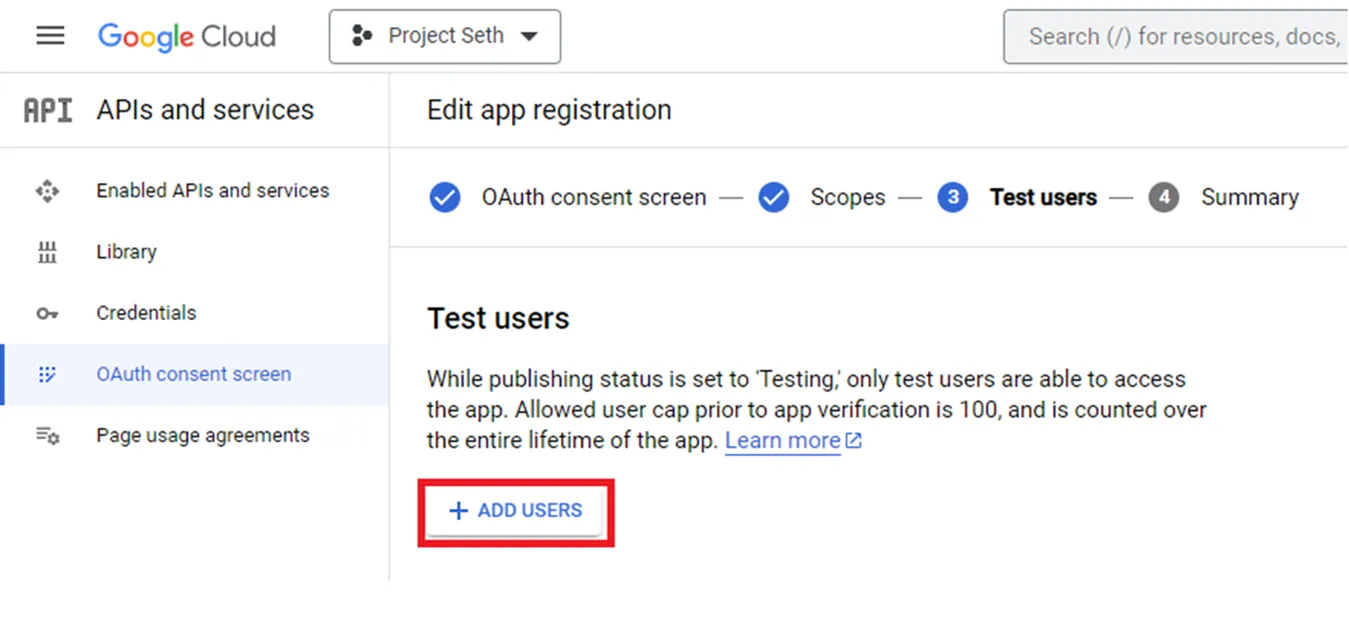
- Click +ADD USERS to add Test users.
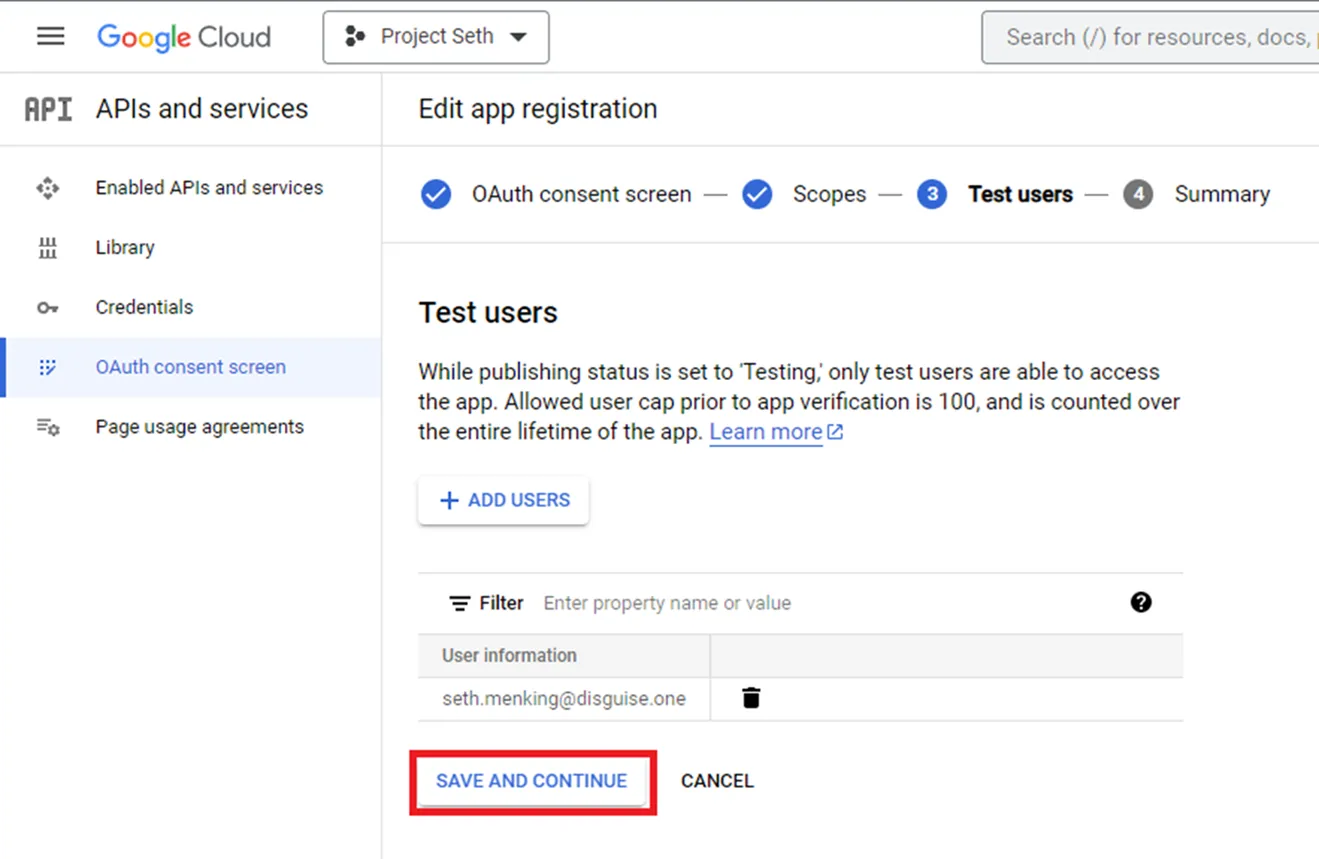
- Enter the Test User email address(es) and click ADD.
- Confirm the Test User email address(es) have been added and click SAVE AND CONTINUE.
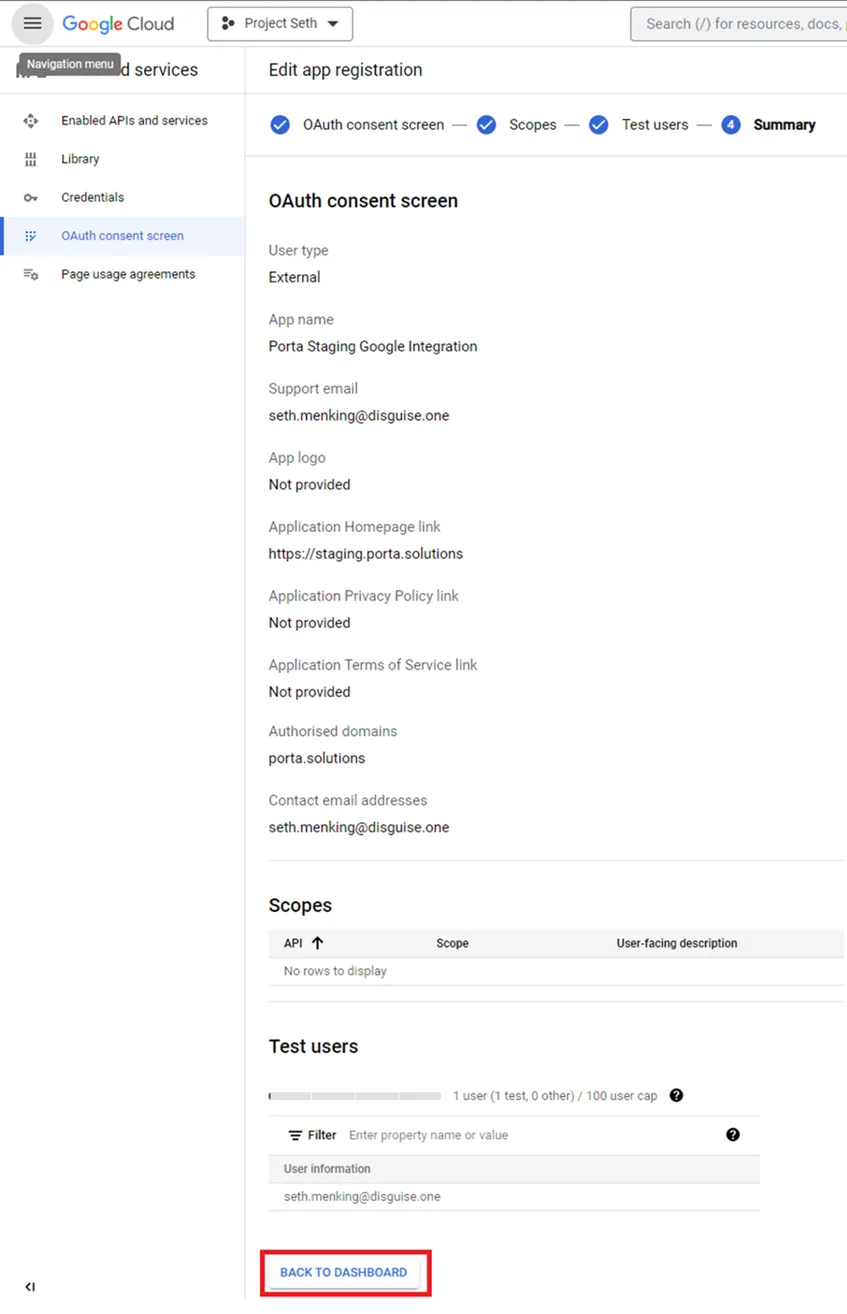
- Confirm the details are correct on the summary page and click BACK TO DASHBOARD.
Create Credentials
- Select Credentials from the side menu.
- Click + Create Credentials.
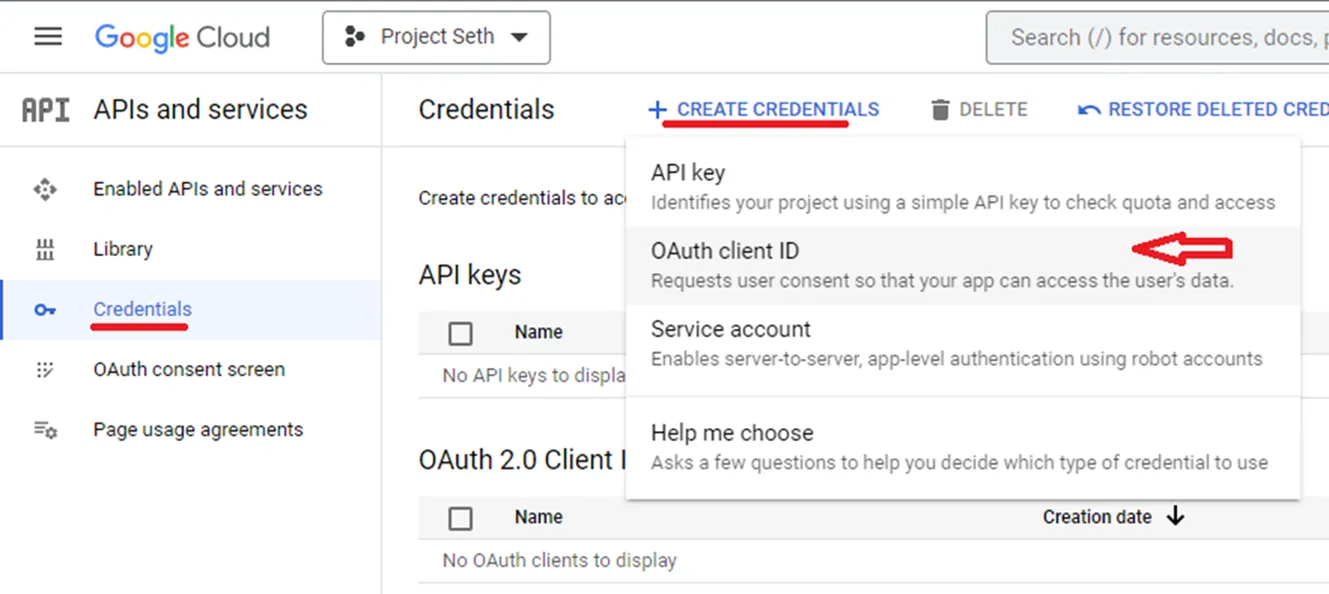
- Select OAuth client ID from the list.Google Cloud create credentials
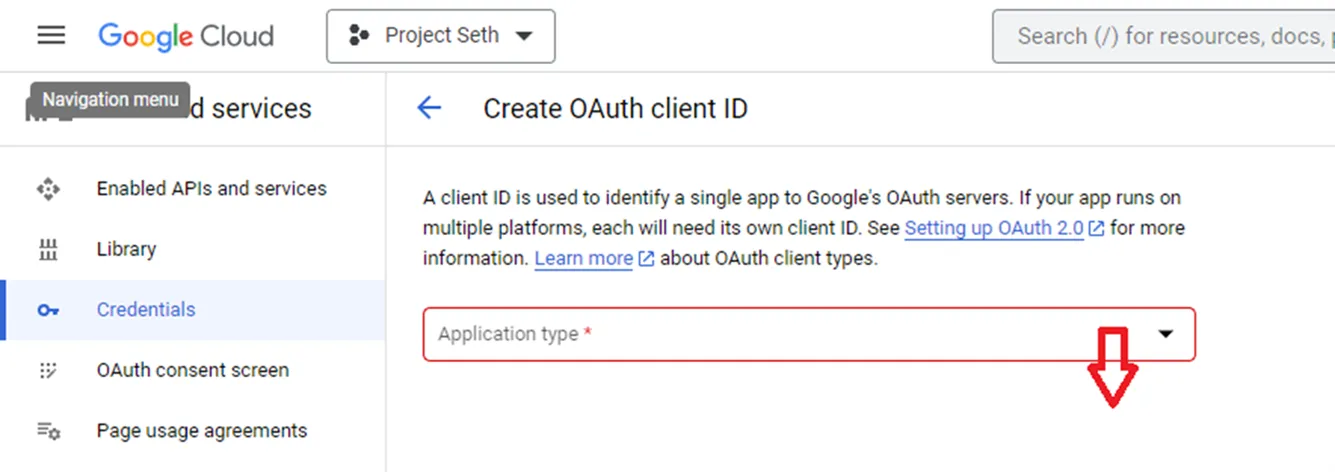
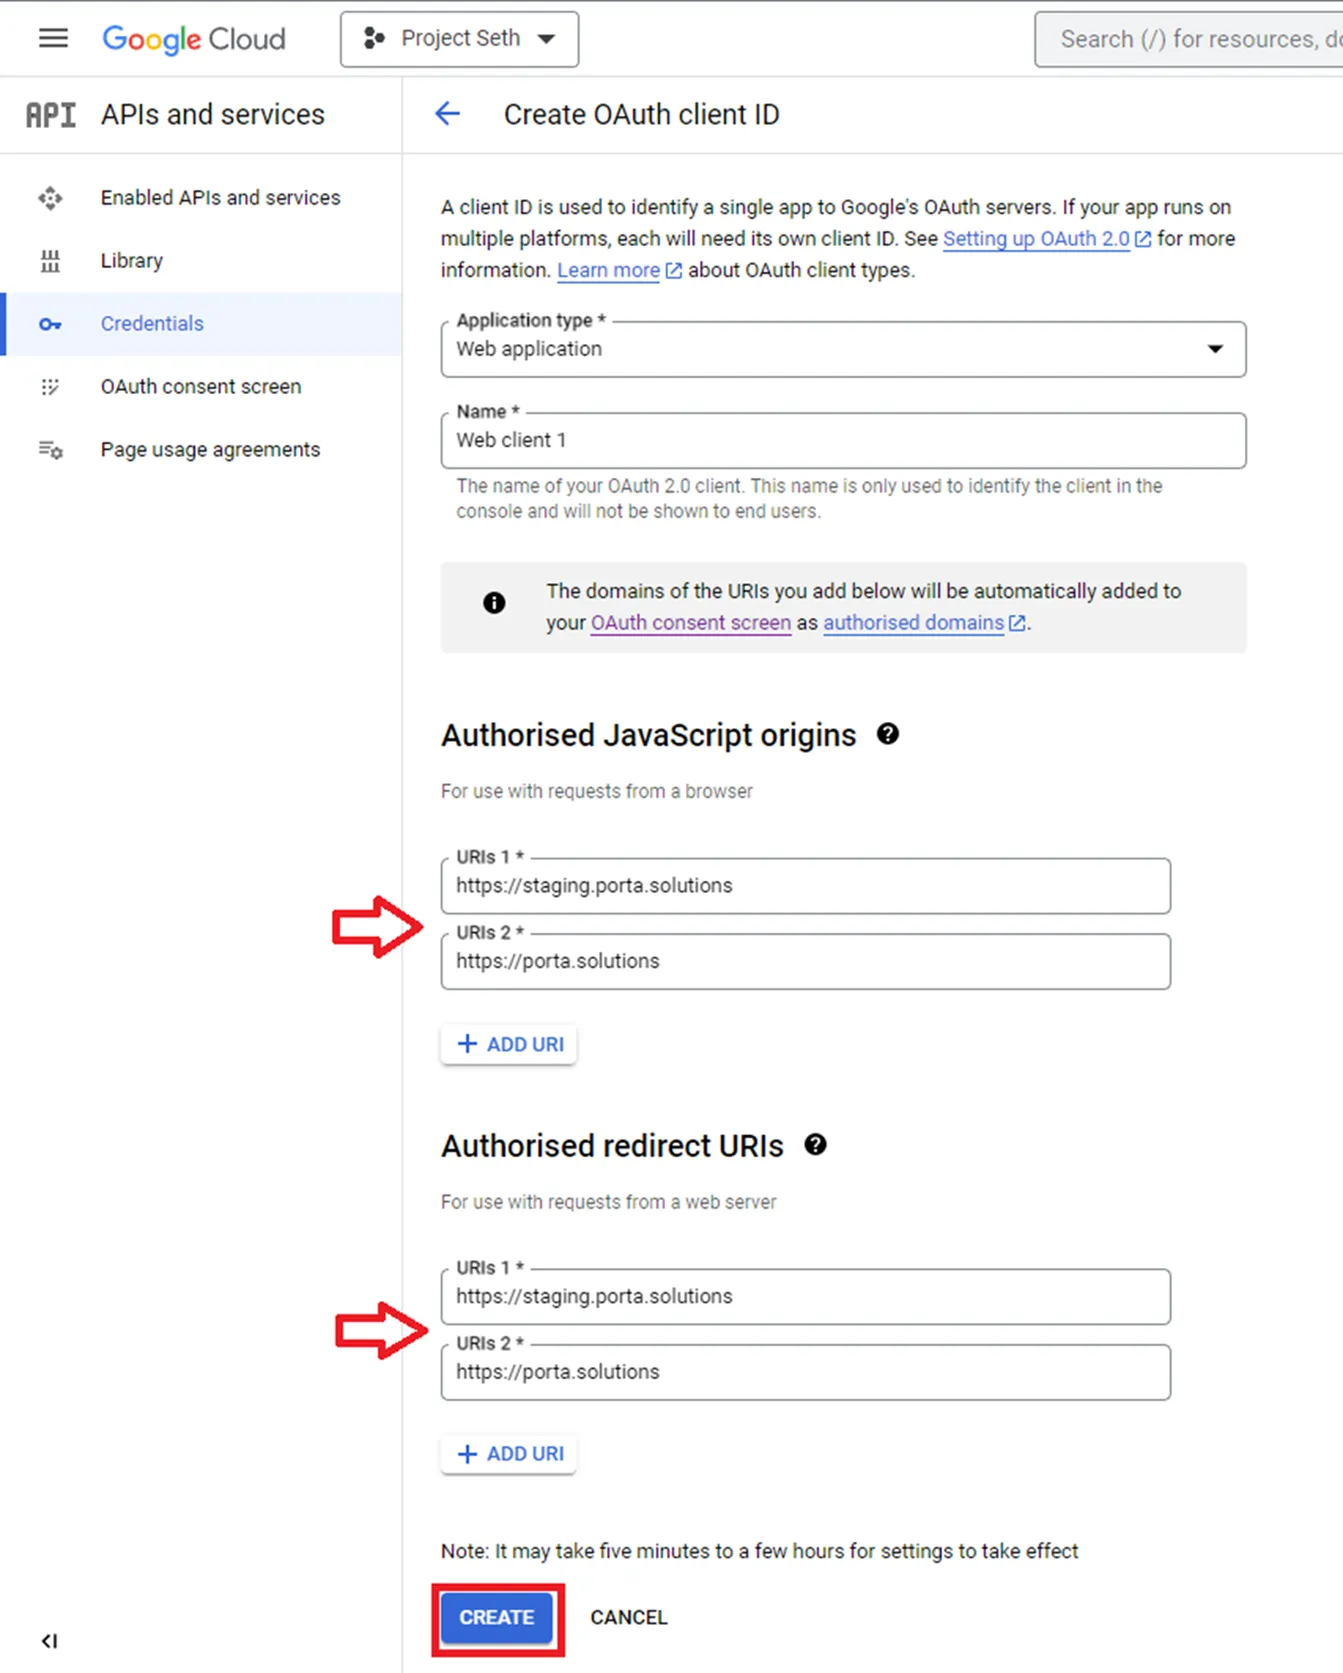
- Complete the form:
- Application type: Web Application Google Cloud credentials type - web application
- Name: Web client 1
- Authorised Javascript origins - enter the domains you will use this OAuth on.
- For example:
- URIs 1: https://staging.porta.solutions
- URIs 2: https://porta.solutions
- Authorised redirect URIs - also enter the domains you will use this OAuth on.
- URIs 1: https://staging.porta.solutions
- URIs 2: https://porta.solutions
- Application type: Web Application Google Cloud credentials type - web application
- Click Create.
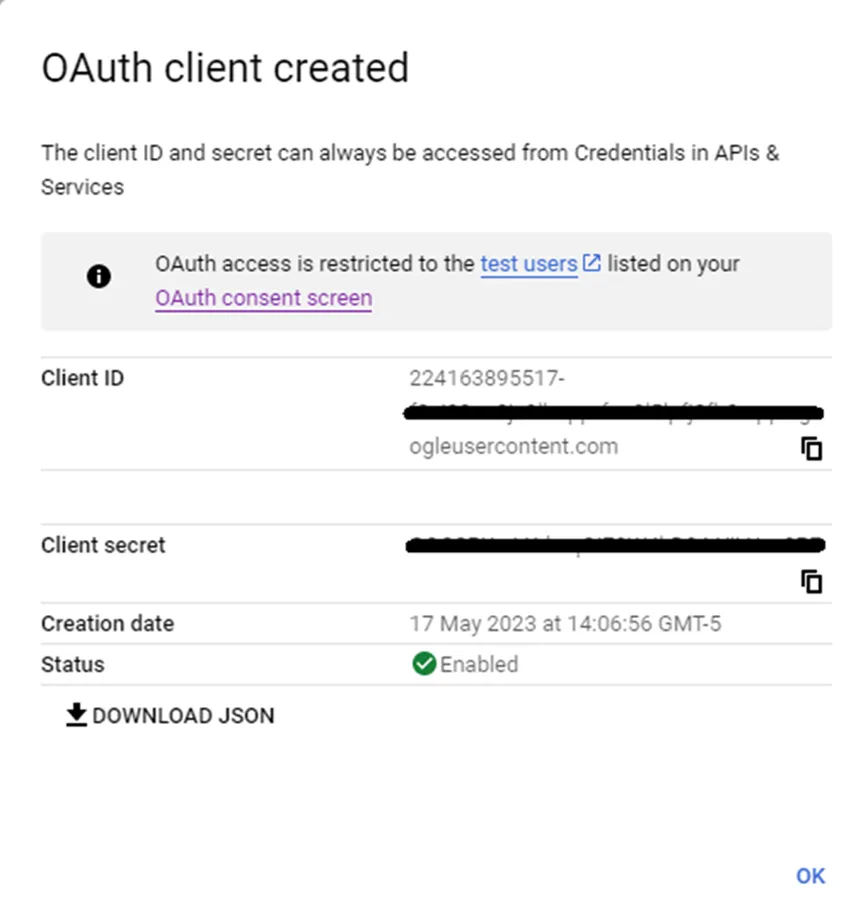
- Copy and save the Client ID and Client secret to configure the Porta settings. You can also download the .JSON file and manually copy from it.
Porta Configuration
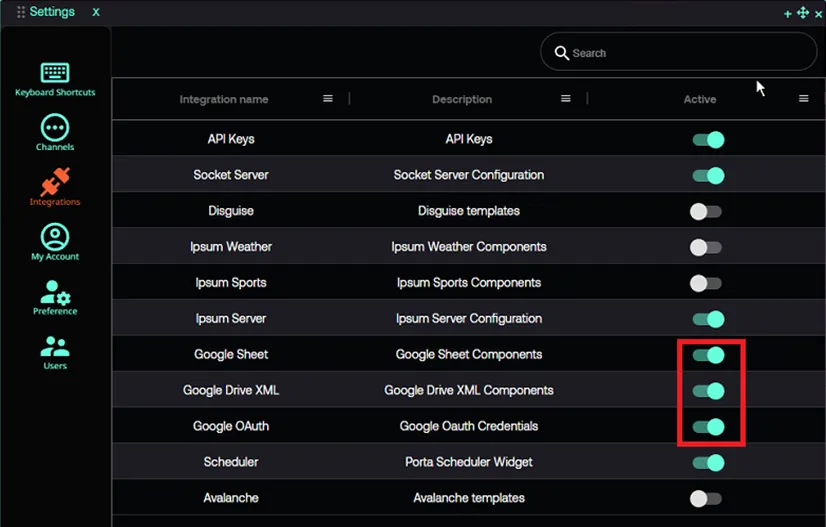
- Navigate to Settings > Integrations.
- Activate the Google Sheet, Google Drive XML, and Google OAuth integrations.
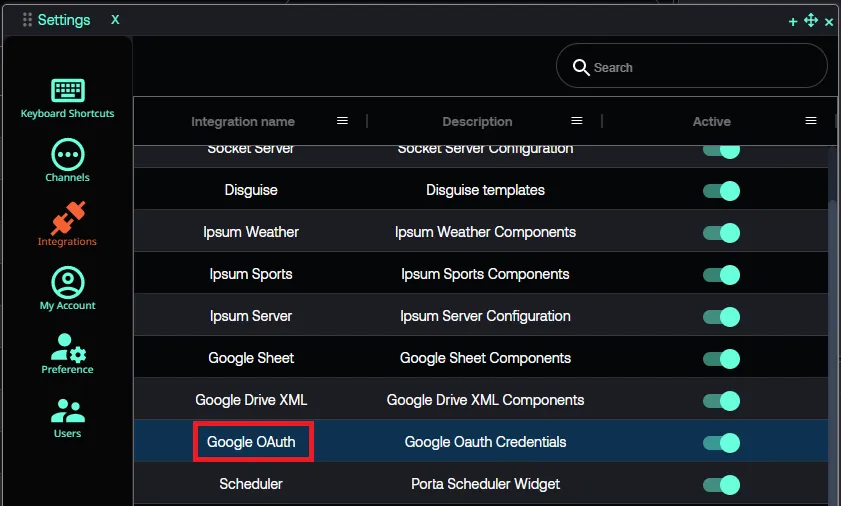
- Double-click on Google OAuth from the list of integrations.
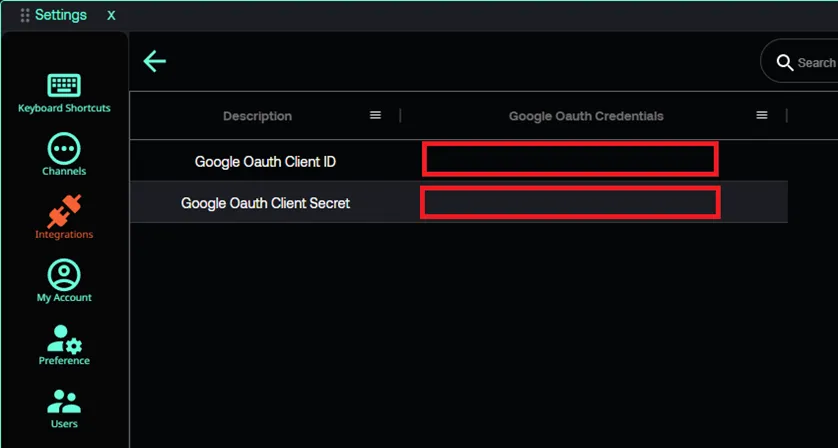
- Add the Client ID and Client secret saved from the Google OAuth page.
Using Google Sheets in Porta
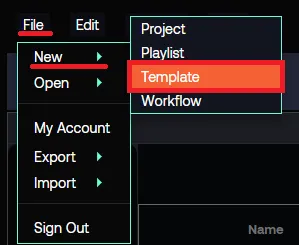
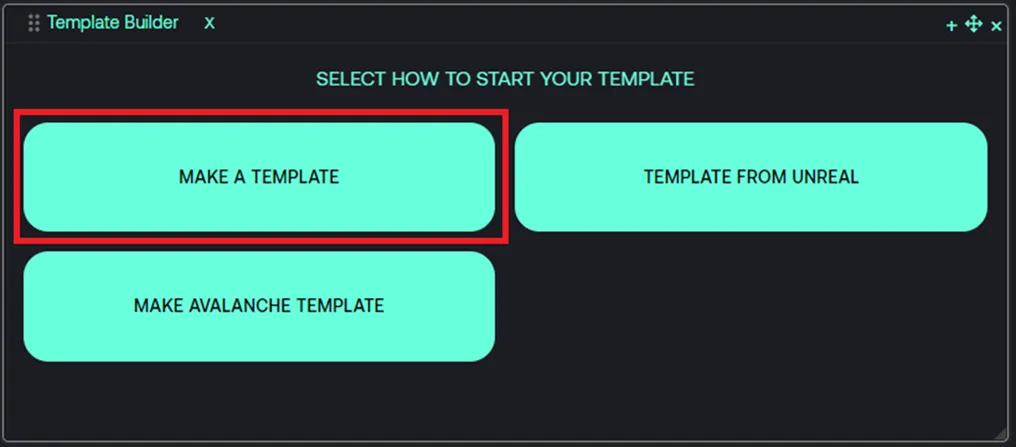
- Click File > New > Template to create a new template.
- Click MAKE A TEMPLATE.
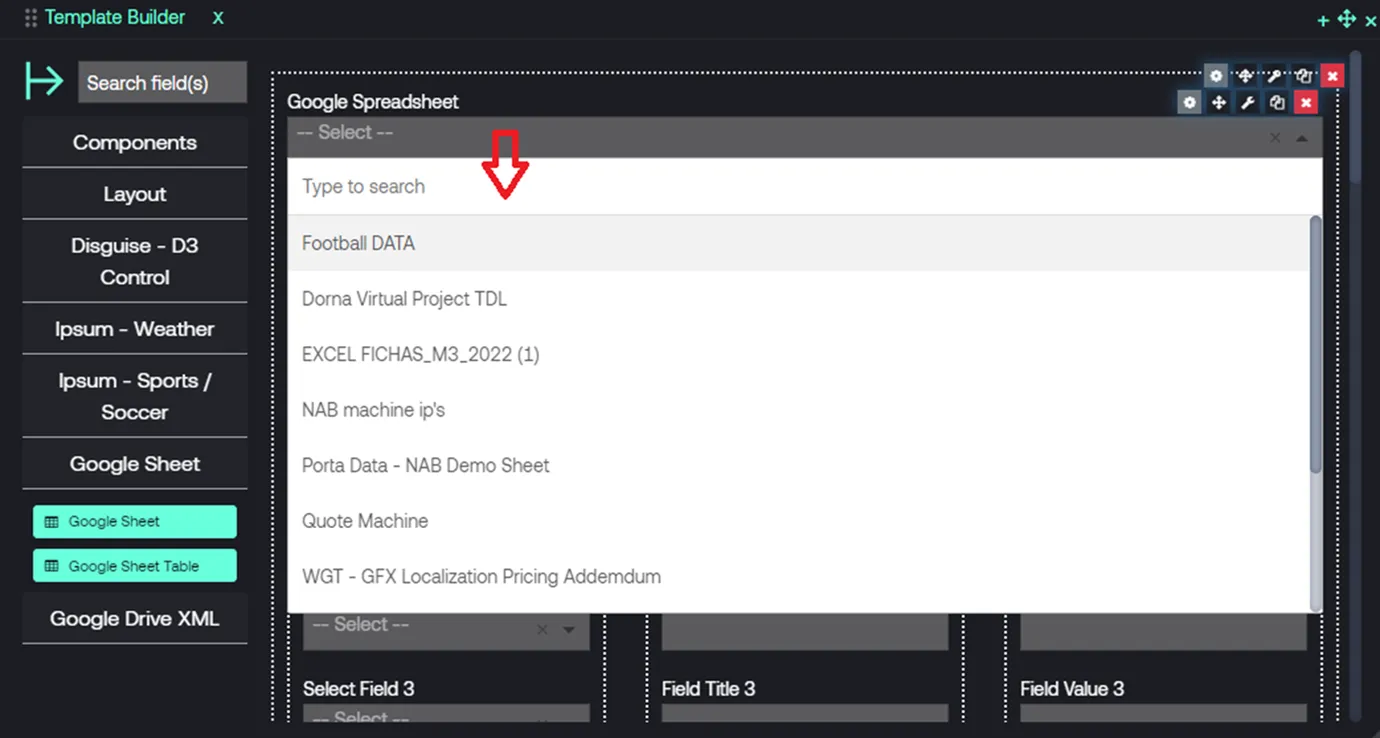
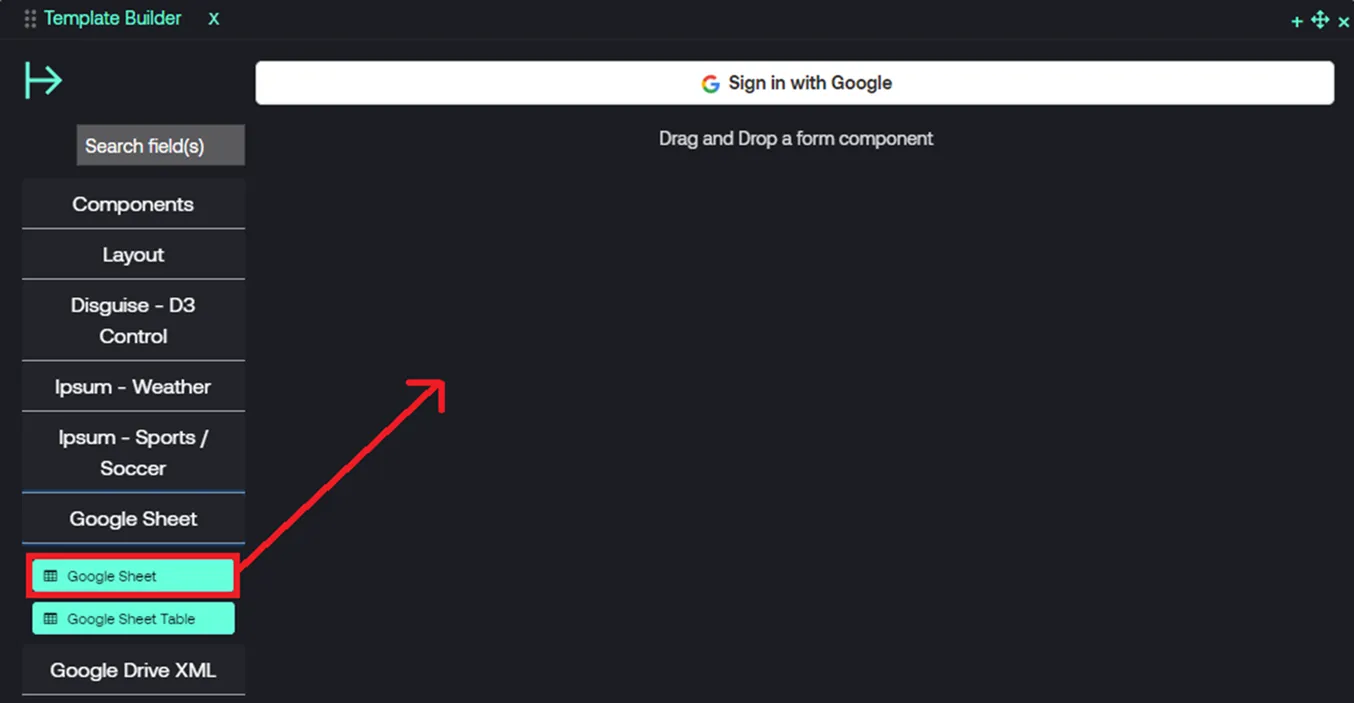
- Select Google Sheet from the Template Builder options.
- Click on Google Sheet.
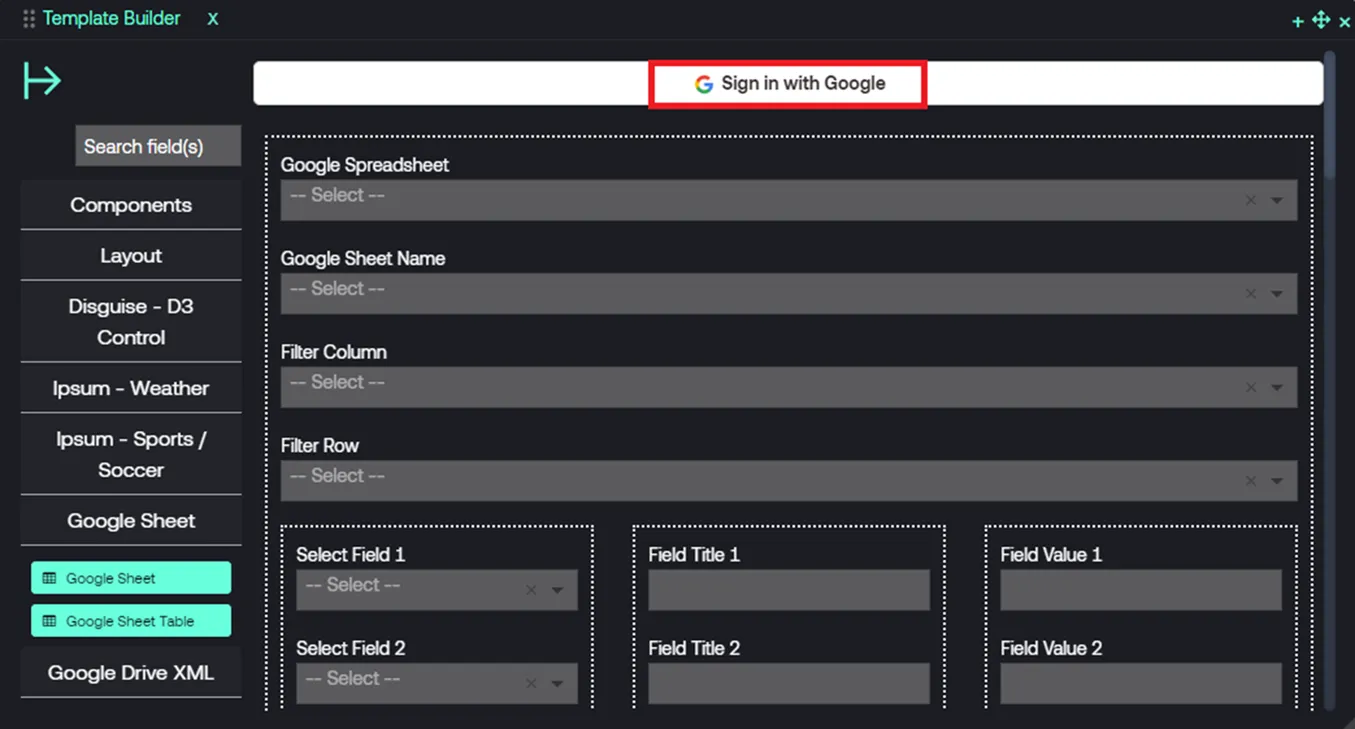
- Click Sign in with Google.
- Click on your Google user credentials to choose your Google account.
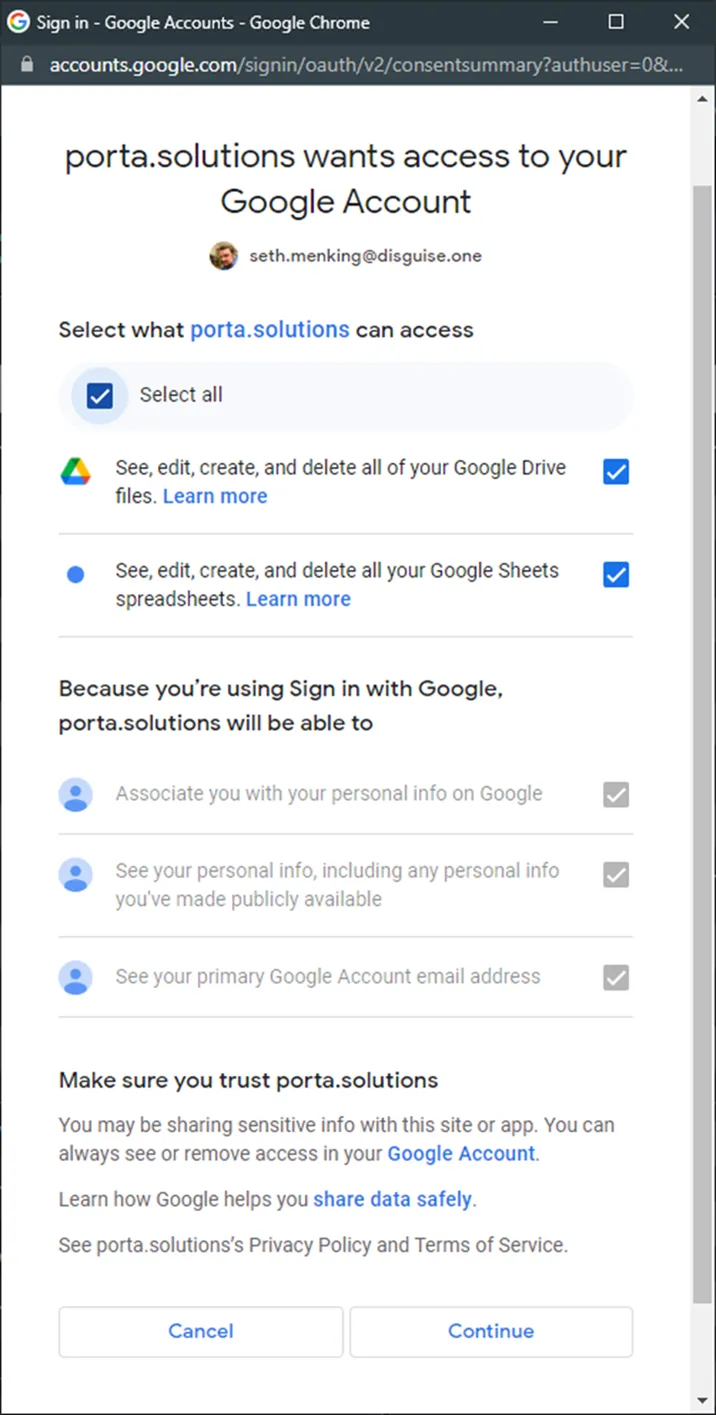
- Allow access to see, edit, create and delete Google Drive files and Google Sheet spreadsheets.
- Select a Google Sheet from the dropdown list.